
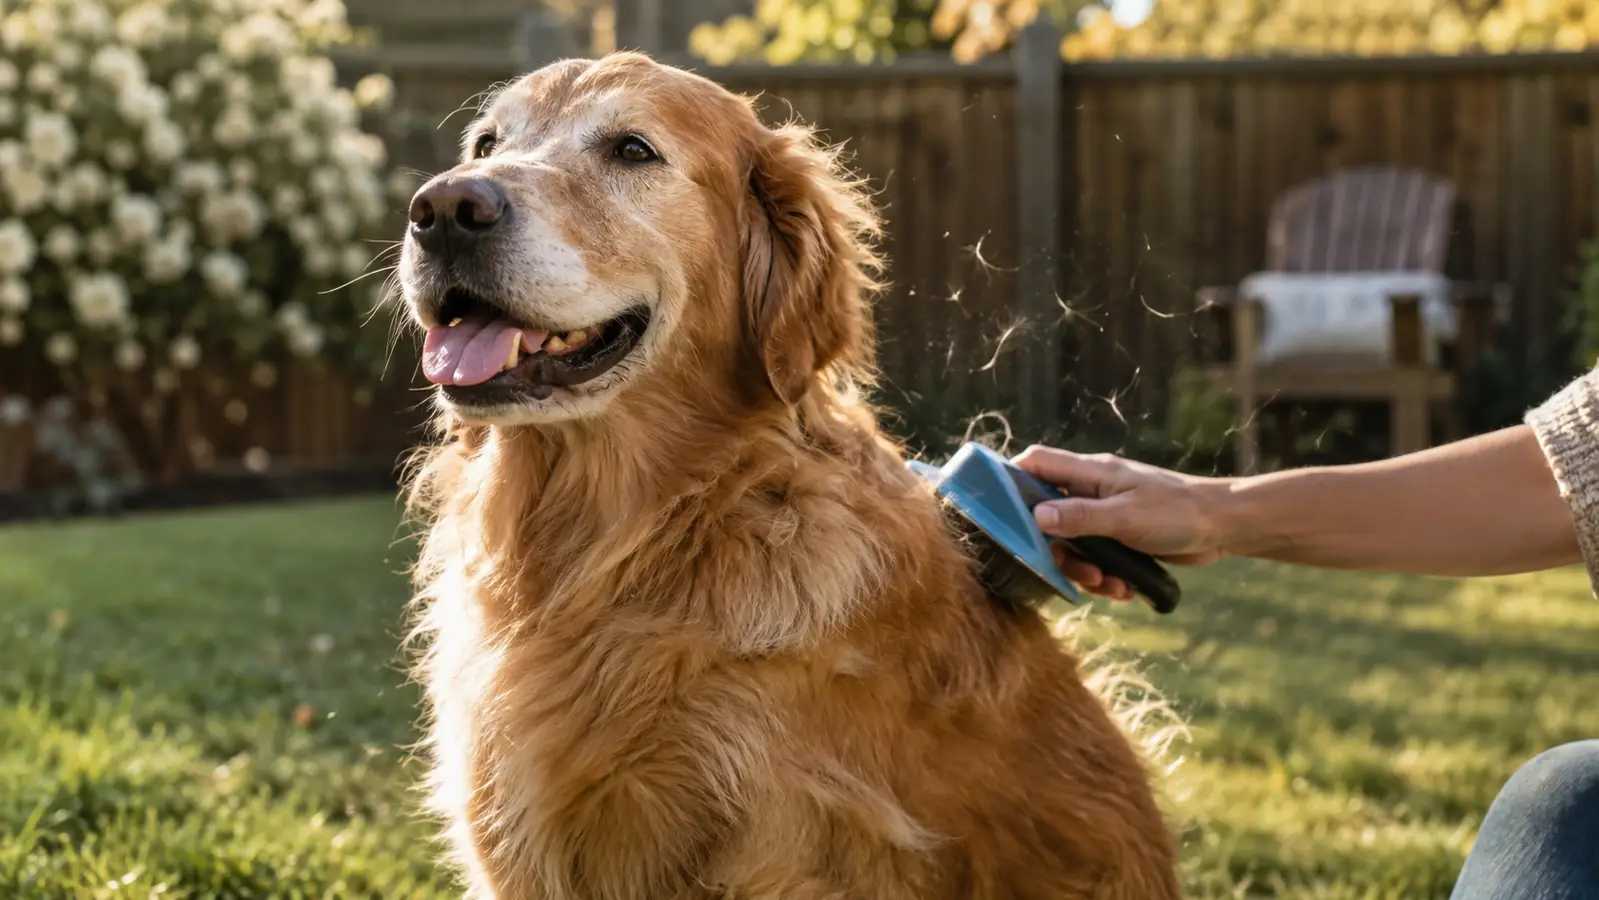
If you live with a heavy shedder, you know the exact moment the couch starts growing a second coat. For me it happens twice a year without fail: the air gets warm, the sun hits the porch, and suddenly Biscuit, my 60-pound shepherd mix, is leaving a trail of fur from the kitchen to the back door. Last April I swept the kitchen floor at 7 in the morning and by noon it looked like we had not swept it in a week. I tried the cheap brushes. I tried the rubber curry mitts. I tried vacuuming the dog directly, which he tolerated for about four minutes and then refused to forgive me for. What actually turned shedding season from a daily losing battle into a twice-a-week routine was the FURminator, and the whole routine I built around it.
The FURminator is not magic. It is a well-built deshedding tool with a stainless steel edge that reaches the undercoat without cutting the topcoat, and it works best when you use it the way it was designed: outside, on a calm dog, in short strokes, over a few days. This guide is the exact process I use on Biscuit, with the timing, the technique, and the cleanup that keeps the house from looking like a second dog lives here.
Start With the Tool That Actually Reaches the Undercoat
The FURminator Large Dog Undercoat deShedding Tool is the one I reach for every time. It is built for heavy shedders, it is easy to hold for a full session, and it makes the rest of this routine work.
Amazon Check Today's Price on Amazon →Step 1: Pick the Right Time and Place
The single biggest mistake I made at first was trying to deshed Biscuit indoors. Fur went everywhere. It drifted onto the kitchen counters, it settled into the baseboards, and Pepper, my indoor tabby, spent the next two days sneezing and giving me a look I can only describe as judicial. Now I groom on the back porch when the weather allows, and when it does not, I use the garage with the door open and a shop vacuum nearby. The porch has one more advantage I did not expect: the wind carries the lightest fur away before it can land on me, which means I stop looking like a walking lint trap by the time I come back inside.
Timing matters too. I aim for a day when Biscuit is already relaxed, usually after a long walk or a good meal. A tired dog stands still longer. I also lay down an old sheet or a cheap plastic tarp under him, because the fur is going to pile up faster than you expect. The first time I used the FURminator, on a cool Saturday morning in early April, I was honestly surprised at how much came out of a dog I had brushed the day before. I filled about half a grocery bag with undercoat before I even finished one side of his rib cage. That was the moment I understood the difference between a brush that skims the surface and a tool that actually pulls the loose undercoat out.
One more thing: check the weather and check the dog. If Biscuit has any hot spots, irritated skin, or mats close to the skin, I do not groom those areas. I work around them and ask my vet if I am unsure. The FURminator is a grooming tool, not a medical device, and it is not meant to pull through tangles that need scissors. When the temperature drops below freezing, I skip the porch and use the garage instead, and I keep the sessions shorter so Biscuit does not get chilled standing still.
Step 2: Brush Out the Topcoat First
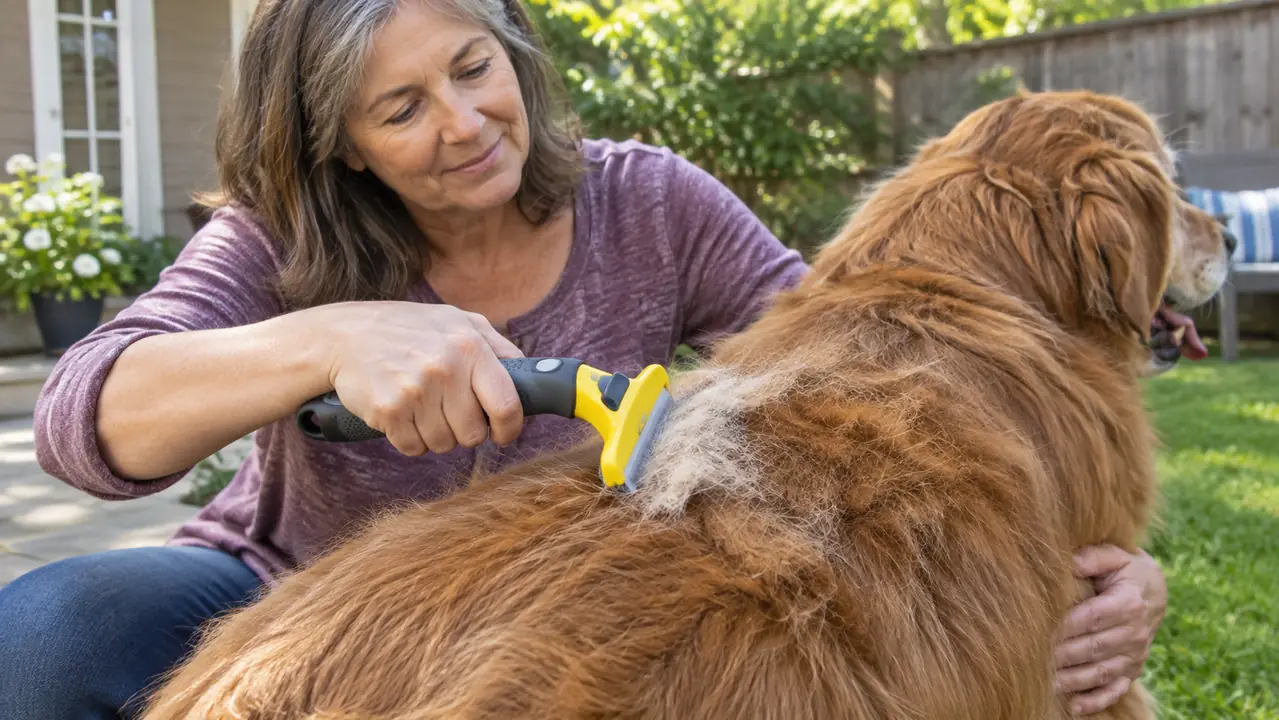
I know it feels like extra work, but trust me: a quick pass with a regular slicker brush or a wide-tooth comb before the FURminator makes the whole session faster. The topcoat holds loose dirt, tiny burrs, and the surface layer of fur that would otherwise clog the deshedging edge after a few strokes. Five minutes with the slicker brush means twenty minutes of smooth FURminator work instead of constant stopping to clean the tool. The first time I skipped this step, I had to press the release button and clear the head after nearly every stroke. Once I added the pre-brush, I could do a full pass down his back before the head needed clearing.
I start at Biscuit's neck and work toward his tail, always in the direction the fur grows. This is not the time to experiment with against-the-grain brushing. The FURminator is designed to reach the undercoat, and it does that best when the topcoat is lying flat and free of debris. If I hit a tangle, I stop and work it out with my fingers or a detangling spray, never by forcing the tool through it. I keep a spray bottle of water mixed with a little conditioner nearby for the stubborn spots, and I let it sit for a minute before I try again.
This step is also when I check Biscuit's skin. I run my hands over his sides, his belly, and his legs. If anything feels bumpy, scabby, or sore, I skip that spot and mention it to the vet. Grooming is a good excuse to actually look at the dog you live with, and I have caught more than one small irritation this way. Last fall I found a tiny burr working its way into the skin behind his left elbow during this check, and I got it out before it became a real problem. Ten minutes of brushing would not have caught it.
Step 3: Use the FURminator in Short, Overlapping Strokes
Here is where the FURminator earns its place in the drawer. I hold it with a light grip and make short strokes, about six to eight inches long, always in the direction of hair growth. I press just firmly enough to feel the undercoat release. There is a distinct sensation when the tool catches the loose undercoat, a kind of soft resistance, and then a visible layer of fur lifts away. That is the moment the routine stops feeling like a chore. The first time it happened, I actually stopped and stared at the fur clinging to the edge, because I had brushed that exact spot the day before and gotten almost nothing.
I work in sections: one side of the neck, one shoulder, one rib cage, and so on. I do not drag the FURminator over the same patch more than two or three times in a single session, because the skin underneath can get sensitive. Biscuit is a good sport, but even he has a limit, and I would rather do two shorter sessions a week than one long one that leaves him sore. I time myself on the first session of the season: about twenty-five minutes total, including the pre-brush. That keeps him comfortable and keeps me honest about not overworking one area.
The tool releases the fur with a built-in button that pops the collected hair out of the head. I press it over the tarp, watch the clump drop, and keep going. The head also rinses clean under warm water, which matters because a clean edge is what keeps the tool working well. I wipe it dry before I put it away, and it has held up fine for over a year of regular use. I also learned to keep my thumb off the release button while I am mid-stroke, because the first time I brushed Biscuit's flank, I hit it by accident and sent a puff of undercoat straight into Pepper's face. She has not sat quite as close to us since.
Step 4: Collect the Fur Before It Reaches the House
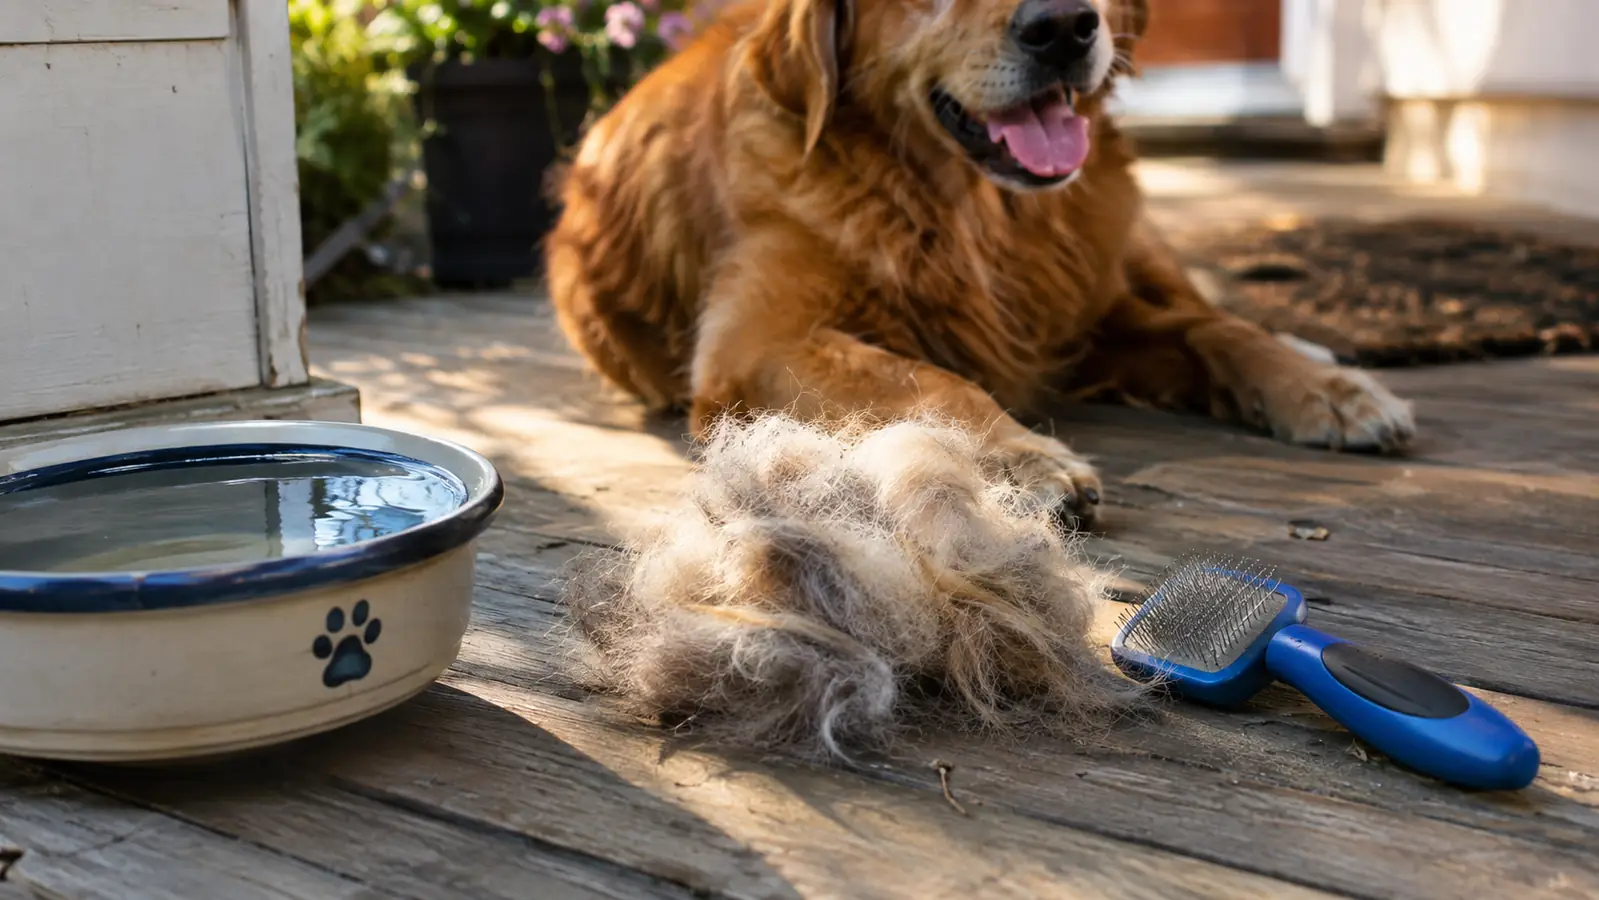
The difference between a manageable grooming day and a fur-covered house is what happens in the five minutes after you finish. I gather the tarp by its corners and carry the whole bundle to the trash. I do not shake it out on the porch, and I do not leave it for later, because Pepper will investigate, and a cat with a mouthful of shepherd-mix undercoat is a problem I have lived through once and will not live through again. That incident ended with me chasing her around the kitchen trying to pull a strand of fur out of her mouth while she made sounds I had never heard a cat make.
I also keep a lint roller by the back door for my own clothes, because no matter how careful I am, I always look like I lost a fight with a pillow. And I wash my hands and the tool before I touch anything inside. This sounds obvious, but the first few times I groomed Biscuit, I walked straight into the kitchen and left a trail of fur on the floor that made it look like we had a second dog. Ray started calling it the fur map of the house. These days I keep a dedicated grooming basket by the back door with the FURminator, the slicker brush, the tarp, and a roll of trash bags, so nothing has to be hunted down mid-session.
If you groom indoors, this step matters even more. Run a vacuum over the area afterward, and consider an air purifier if you have allergies. I am lucky that neither Ray nor I have serious allergies, but Pepper is sensitive to dust, and keeping the grooming outside has made a real difference in how much she sneezes. When I have to use the garage in winter, I vacuum the floor before I bring Biscuit back in, and I wipe down the door frame where the fur collects.
Step 5: Build a Rhythm That Matches Your Dog's Shedding
The FURminator works best as part of a routine, not as a one-time rescue mission. During peak shedding season, which for Biscuit runs from early spring to late spring and again in the fall, I groom him twice a week. Between seasons, once a week is enough to keep the couch from turning into a fur magnet. You will learn your dog's rhythm within a couple of weeks. When I stop seeing big clumps release, I know we are through the worst of it. Last spring, the big shed started the second week of March and tapered off by the middle of May, and sticking to the twice-a-week schedule meant the house never got more than a day or two behind the fur.
I pair grooming with a small reward. Biscuit gets a treat after each session, which means he now trots to the porch when he sees the FURminator come out of the drawer. Pepper gets a treat too, mostly because she sits nearby and stares at me with the intensity of a small auditor, and it is easier to pay her off than to argue. I keep the treats small and I count them toward his daily total, because a 60-pound dog with a treat habit is a dog who needs his walk shortened.
Bathing matters too, but not the way you might think. I bathe Biscuit before the first big grooming session of the season, then let him dry completely before using the FURminator. Wet fur clogs the tool and pulls at the skin. A clean, dry coat also releases more undercoat in fewer strokes. I do not bathe him more than once a month unless he has rolled in something that demands otherwise, because overbathing dries out the skin and can actually make shedding worse. When he does need a bath, I brush him first, bathe him, dry him fully, and then do a light FURminator pass the next day once the coat has settled.
What Else Helps
The FURminator does the heavy lifting, but a few extras make the whole system easier. A high-quality slicker brush handles the topcoat before each session. A good vacuum with a pet hair attachment keeps the house livable between groomings. I also feed Biscuit a food with decent omega fatty acids, which supports his skin and coat, and I check with my vet before changing anything about his diet. And if you have a dog who hates grooming, start with short sessions, go slow, and end on a good note. Biscuit was not a fan at first. Now he associates the FURminator with the porch, the sun, and a treat, and that association is worth more than any technique I could describe.
The first time I used the FURminator on Biscuit, the fur piled up on the tarp faster than I could fold it. I had brushed him the day before with a regular brush and assumed that was the whole story. It was not even close.
Give Yourself Twenty Minutes and a Tarp
The FURminator Large Dog Undercoat deShedding Tool is the tool I reach for twice a week, and it is the reason our couch survives shedding season. Grab one before the next warm spell hits.
Amazon Check Today's Price on Amazon →